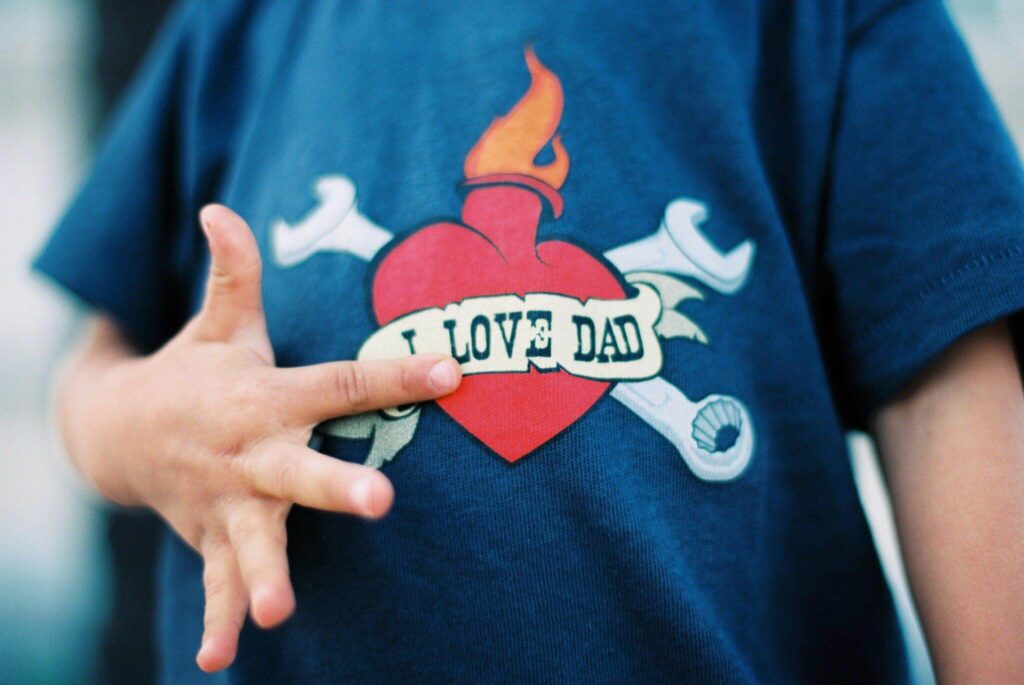
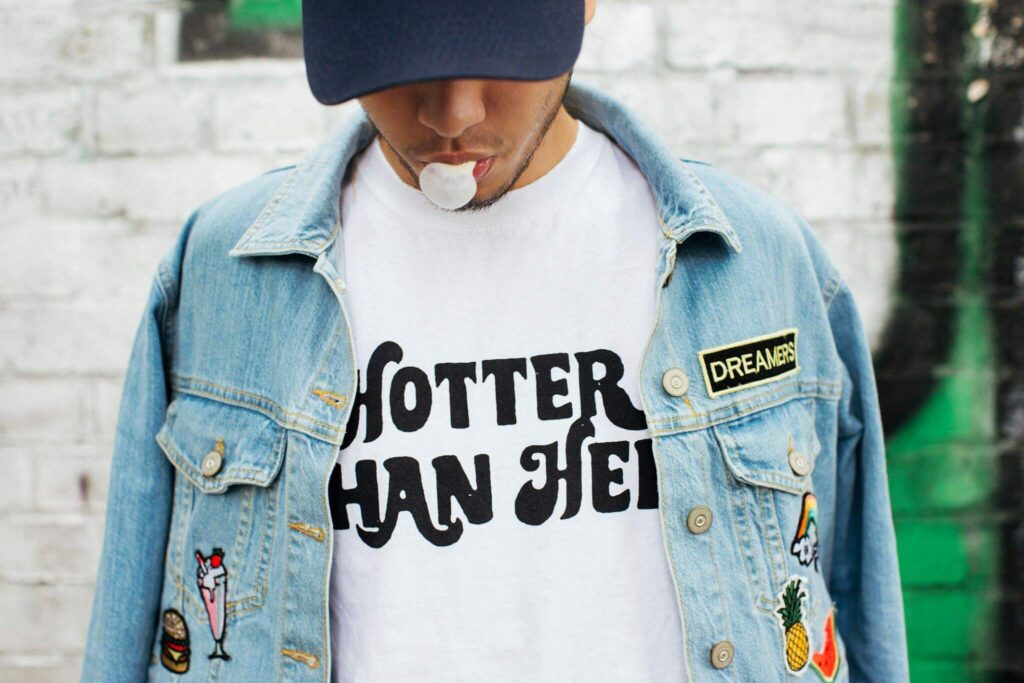
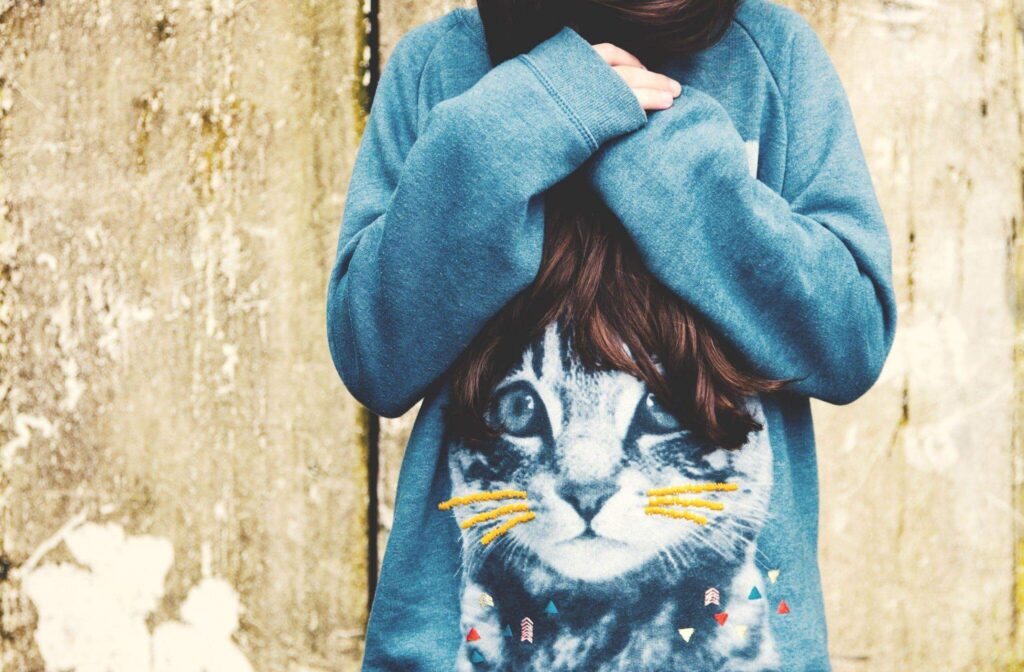
Consider using an all-over print shirt if you’ve ever created a design that is too great to be constrained by conventional print sizes. The limitless printing area enhances any artwork and also helps it gain popularity.
All-over designs t-shirts are a tried-and-true way to increase merchant portfolios, not only as fashion statements. Additionally, they provide new design options for more expansive or continuous patterns, landscapes, and scenarios.
The ins and outs of printing a t-shirt all-over will be discussed in this step-by-step guide.
How Do You Make Your T-shirt Prints?


Design
Start by deciding what you want your shirt to communicate about you or your business. Who exactly are you trying to reach with your target market? Take your time while designing your brand identity, whether it’s through artwork, a logo, a slogan, or a combination of all three.
Quantity and budget
Before you get too far into the printing process, be sure to determine your projected quantity and budget. Like with any type of printing, ordering in quantity is likely to result in reduced costs per piece. It’s a good idea to place large orders, especially if you intend to sell the shirts.
Determine how to print shirt designs with many of each size you’ll need in addition to the quantity. Even though some sizes are more popular than others when printing merchandise shirts, it’s always crucial to offer a wide variety. Certain sizes may cost more than others depending on your custom t-shirt manufacturer.
Select a printing technique
Price differences, look, production time and materials will all be factors when choosing the best method for printing a T-shirt. Let’s examine these essential qualities using three common printing techniques:
- Screen printing
- Vinyl graphic
- Direct-to-garment
Printer
Always keep your deadline in mind as you choose your printer to ensure that you can fulfill the order on time. When placing an order online, take into account the printing and delivery times as well. If you’re in a hurry, you can save time by placing the order locally and picking it up personally.
The printer you choose will depend on the following factors:
T-shirt cuts, sizes, materials, and colors they provide quantities you may order, as well as their printing methods and whether they are appropriate for your design cost for plain t-shirts + printing time.
Fabric type
100% cotton is a very well-liked alternative. It is adaptable, simple to wear, and even simpler to wash. Try the popular 50% polyester/50% cotton blend, which is softer and more breathable than pure cotton and frequently less expensive.
Determine which fabric will work with your quantity and price range by consulting your printer.
How Can I Print My Own T-Shirts?


You may design your T-shirts using a labor-intensive method called full T-shirt printing. Although the printing techniques may seem challenging at first, they should become simpler with practice. The most effective option for a one-time assignment is transfer printing.
Even though screen printing requires more specialized equipment, you can print a full t-shirt with just one picture. Another quick one-time printing choice that is more durable than iron-on prints is inkodye.
Get Transfer Paper For Printing
One of the most well-liked techniques is dye sublimation printing, and you can utilize transfer paper for it. Anywhere that sells stationery or printer paper will have special heat transfer paper. There are two varieties of transfer paper, one ideal for all darker hues and the other for white or pastel shirts.
Choose A Picture Of Good Quality For Your T-Shirt Design
Any image that is saved on your computer may be used.
- If the photograph is only available in physical form, scan it and store it as a jpeg file on your computer. Alternatively, you might take a photo and upload it to your PC.
- Use only your original designs or images if you plan to sell the shirts print through your online T-shirt shop.
For Shirts With Light Colors, Flip The Picture
The mirror image that is produced on your shirt by the transfer paper for light-colored paper. In the print options window, look for a “reverse” or “mirror” selection, or flip your photo in MS Paint or another photo-editing application. All of the text in your design will be unreadable if you omit this step.
If you are using transfer paper for darker shirts, do not reverse the picture. This particular kind of transfer paper reproduces the image accurately. Print out a test piece on regular paper to see if the opposite setting works. It ought to produce the desired appearance in reverse.
Put Your Artwork On The Paper
Verify that the image fits on your paper in the preview before printing. If it’s too big, choose the “fit to scale” option when printing or reduce the size in an image editing tool.
You need the correct kind of printer, such as an inkjet printer, to print on your transfer paper.
Print onto the side that is blank if the two sides of your transfer paper differ in appearance. It could have a logo, a pattern, or heat indicators on one side.
If the image is broader than it is tall, change the display mode to “landscape.”
Cut Out The Picture
You can see a thin coating on the shirt made of any paper that was left around the image. Cut out the image to make a clear one. Use a knife and a ruler to make a precise cut.
A Cotton Fabric Should Be Used To Cover A Hard, Flat Surface
If required, scrub and dry a table or countertop after clearing it. Place a cotton pillowcase over this region, leaving enough room for you to lay out the T-printing shirt’s area.
Due to the metal bars or grating on the majority of ironing boards, they are not ideal.
Utilize a heat-resistant surface. A laminate countertop should not be ironed over. A cutting board is an additional option.
Get Your Iron Ready To Function As A Heat Press
To determine which settings are ideal for your product, refer to the instructions that came with your transfer paper. Select the “cotton” or high-temperature setting; choose “dry” or turn off the steam, and remove all of the water from the iron if no instructions are provided. Allow the iron to warm up for a while.
Use an iron with at least 1200 watts of power for the greatest results.
Iron The Shirt
Stack the pillowcase on top of the shirt. It should be perfectly flat after ironing. Any creases in the image will be visible after the transfer. If required, wash and dry the T-shirt beforehand.
Put The Paper On The Garment
Put the image facing down when using transfer paper for light-colored shirts. Put the image face up when using transfer paper for dark shirts. Align the image’s center with the neckline of your T-shirt.
The picture will transfer more easily if it is placed face down, preventing a mirrored image from appearing on your shirt.
Iron The Shirt With The Image
Put heavy pressure on the iron by pressing down on the fabric with your entire hand. The image is applied to the garment using a heat press that the iron serves.
Depending on the directions that came with your particular transfer paper, iron for anywhere between 30 seconds and several minutes.
When ironing clothes, try to minimize the amount of movement you generally make with the iron. To ensure the iron-on sheet adheres to the shirt, you need to apply heat continuously rather than just to the image’s entire surface.
When the region is heated enough, thermal indicators built into some types of transfer paper will change color.
Peel The Paper Off After Allowing The Area To Cool
Let it cool until the paper reaches room temperature, which should take at least a few minutes. You’ve just made your very own personalized T-shirt!
How Do You Print A Shirt All Over?


It’s crucial to develop a pattern that covers the front, back, and sleeves of the shirt while making all-over print shirts. You can use the same design repeatedly or come up with original designs for every place. To prevent any awkward transitions, pay attention to where your design ends at each seam of your shirt.
It can be scary if this is your first time designing with custom all-over print clothing. Without a doubt, it differs from designing normal clothing.
Make Your Print-on-Demand Account Clear
You must have an account with the print-on-demand platform that supplies the product you’re looking for to design and order all-over print custom t-shirts or any apparel for that matter.
Typically, joining print-on-demand services is free. Only after you place an order do you pay for the goods.
Use The Product Template To Create A Product With All-Over Printing
After setting up your print-on-demand account, you’ll undoubtedly lose yourself in the product catalog for a while. Then continue to consistently slip into this black hole. There are just so many interesting products to look at.
Pick the custom all-over print shirt you wish to design once you emerge from the black hole. Open the design templates for the product next.
The majority of all-over printing services ought to provide design templates. You might wish to look for another provider if they don’t. Especially if you’re designing for full printing.
These design templates can be a huge help in figuring out how to size your design right away. By doing this, you can avoid experimenting with low-quality, sloppy graphics that simply don’t fit your clothing.
Validate Your DPI
Aim for 300 DPI when producing print designs, according to standard advice. Now, this does not imply that all of your designs must have a 300 DPI resolution.
What does this imply? The size of the image on your product may affect its DPI, so be aware of that. You probably won’t notice many changes in your DPI if you’ve followed the design templates and haven’t made many resizing modifications to your product.
However, you might discover after uploading your design to printify all over print that your DPI isn’t what you anticipated. We understand. You may find out your design’s DPI and whether it falls within a suitable range on both platforms.
Keep Your Design’s Edges in Mind
The designing stage has now begun. Be careful of your design’s four edges as you work. Your edges will probably run into a seam if you’re making your design the product’s file instructions.
Therefore, you shouldn’t use any cutoff items, abrupt color shifts, or crooked lines. On your shirt with an all-over print, whatever is taken off at the edge will also be cut off at the seam.
What printer is used to print clothes?
You should be knowledgeable about the various t-shirt printing procedures or approaches if you plan to launch your own custom all-over print t-shirt company. The type of t-shirt material, the volume of necessary production, the type of designs you want to print, the range of colors you would want to utilize, etc. all affect which printing technique is best for you.
According to the underlying technology, the commercially accessible printing techniques can be categorized as follows:
- Printing with a digital inkjet directly on clothing (DTG)
- Direct digital inkjet printing on fabric
- Digital inkjet printing, heat transfer, and screen printing
INKJET PRINTER – TECHNOLOGY AND COMPONENTS
A t-shirt can be printed with high-quality, photographic, full-color designs using DTG printing, an inkjet technology. For artwork or designs that are deemed to be too complicated for other printing procedures, DTG printing is the most appropriate.
We can full print shirts in a plethora of colors and with incredibly fine detail thanks to DTG digital printing technology.
Printing Direct to Fabric
Using a process called direct-to-fabric printing, fabrics may be printed directly. It may involve printing with cut patterns or uniform overall printing. In both cases, the stages are Print-Cut-Stitch rather than Cut-Stitch-Print as with DTG printers. With little ink consumption, direct-to-fabric printing devices provide distinctive, colorful designs.
Diverse fabrics can be printed on by direct-to-fabric printers. Direct-to-fabric printing allows for more artistic printing than direct-to-garment printing.
SUBLIMATION PRINTING TECHNIQUE – HEAT TRANSFER PRINTING
Using heat and pressure, the printed design is transferred from transfer paper to fabric using this method. Printing with this method is only permitted on polyester or polyester-rich materials.
It is futile to use materials that mimic cotton or viscose. The necessary text or graphic for the t-shirt is digitally printed on specialized heat transfer paper using sublimation ink.
Screen Printing
The multiple-station large-volume screen printing system is the most typical all-over t-shirt printing method used for large-volume orders. The t-shirts are printed using screens in this method.
The best method for printing huge orders on t-shirts is this one. With a gallon of ink suitable with screen printing equipment, one can print up to 500 t-shirts, depending on the design, ink quality, applied pressure, and the number of strokes. This makes it a very economical method of printing t-shirts.
You Are Prepared For Flawless T-shirt Printing
Everything has been discussed, including process and design, allover print tees printing techniques, and selecting the proper fabric. It’s now time for you to begin! Choose your objectives, then print the ideal t-shirt. Nothing screams “you are what you wear” like a t-shirt that makes a statement and is especially well-designed.


