
Do you know why so many people use embroidery patches? The best way to utilize an embroidery machine is to create your own patch embroidery designs. This comprehensive manual will show you how to easily and rapidly create your own patches.
Creatively expressing yourself to make a custom patch embroidery. You can attach them to your cap, backpack, or outerwear in seconds. Creating your own custom embroidery patches is a fun way to express your interests and skills How To Embroider Patches.
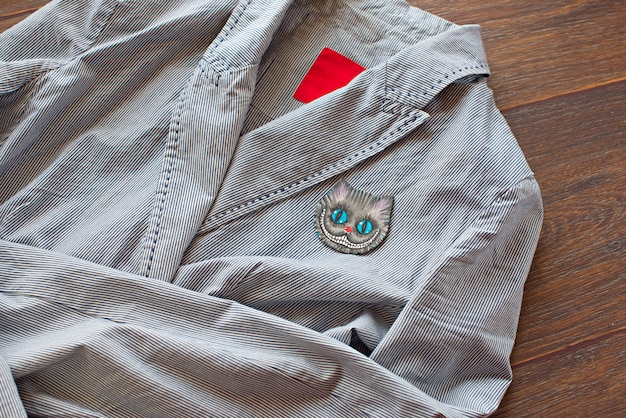
Embroidery patches are pieces of decoration that can be sewn onto clothes or other fabric items. Most of the time, they are made of fabric and have a design that has been stitched on using embroidery. Patches can be used to add a personal touch to clothing, represent a group or organization, or show off a badge of honor or achievement.
Here is everything you need to know about embroidery patches:
There are different kinds of embroidery patches, such as those that you iron on, sew on, or stick on.
- Iron-on patches can be put on fabric with heat, while sew-on patches have to be put on by hand with a needle and thread.
- Sticky tape is used to attach adhesive patches, but they are easy to take off.
Different methods like;
- Computer-aided design (CAD)
- Hand-drawn art
These methods can be used to make patches. The design is then turned into a digital file, which is used to make a program that tells the embroidery machine how to stitch the design onto the patch.
How big the patch is will depend on how it looks and what it will be used for. Larger patches can be used to make a bold statement or show off a badge of honor. Smaller patches are often used to add a subtle touch of style to Clothing.
Patches can be made out of twill, felt, and leather, among other things. The type of material chosen will depend on how the patch will be used and how it will look.
- Iron-on patches can be put where you want them by placing the patch where you want it and pressing it with an iron set to the right temperature for the patch material.
- Sew-on patches have to be put on by hand with a needle and thread, while adhesive patches can be put on by taking off the backing and pressing the patch on the spot where you want it.
If you want your patches to last longer, don’t wash them with rough things, and try to keep them out of direct sunlight. If the patch gets dirty, a damp cloth can be used to clean it gently.
How To Embroider Patches
 Patches are a trendy and enjoyable way to customize a denim jacket or tote bag. It’s simple to sew your own embroidered patches at home. Embroidered patches can be customized to your exact specifications, and can be made to look like anything you can imagine.
There are many different ways to create a patch, but you may find that some of them work well together. Felt patches with adhesive or pins with decorative edging are only two examples. Using these four methods, you can make your own patches and experiment with your heart’s desire.
Here are some steps you can take to sew a patch on;
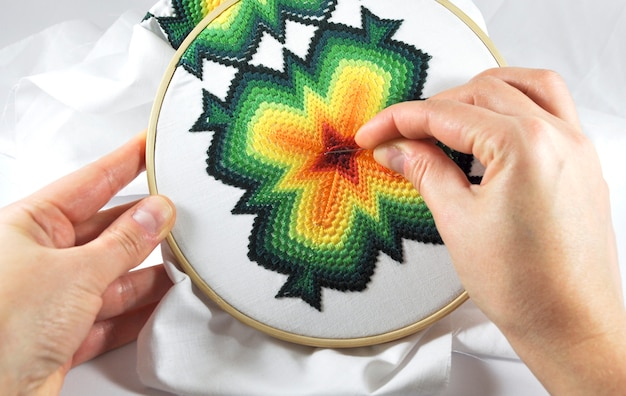
- You will need a patch blank (the piece of fabric on which the design will be embroidered), embroidery thread, a needle, and an embroidery hoop.
- If you are using a design that has already been made, put the blank patch in the embroidery hoop and center the design on the blank patch.
- If you want to make your own design, use a fabric pen or pencil to draw it on the patch blank.
- Cut a piece of embroidery thread and put it through the needle’s eye. To keep the thread in place, tie a knot at the end.
- Start with a simple stitch, like a backstitch or split stitch, to outline the design. Then, use different stitches, like the satin stitch, chain stitch, or stem stitch, to fill in the design.
- When you’re done embroidering, tie off the threads on the back of the patch to keep them in place. Cut off any extra strings.
- If you want to sew the patch onto a garment, use a needle and thread to sew it where you want it.
- If you are using an iron-on patch, put it on the garment and press it with an iron set to the right temperature for the patch material.
How To Get Embroidery Off A Shirt
 With the help of embroidery stamps, designs can be stamped into cloth and then easily embroidered. Because the needleworker may choose to employ only a portion of the pattern, the stamp may be partially visible if the stamp has particularly thick lines that persist after the embroidery is completed. The transfer ink used to stamp the pattern onto the fabric can often be removed with a thorough washing.
You can try the following ways to get embroidery off a shirt:
- If the embroidery is in a small, hidden place, you might be able to carefully cut the threads away with scissors. This is the best way to get rid of small or single pieces of embroidery.
- A seam ripper is a small tool with a sharp point that is used to take out stitches. To get rid of the embroidery stitches, carefully slide the point of the seam ripper under them and gently lift them up.
- Lint rollers are usually used to get rid of lint and other small pieces of debris from clothes, but they can also be used to get rid of small bits of embroidery. To pick up the threads, just roll the lint roller over the embroidery.
If the embroidery is big or hard to get off with the above methods, you may need to soak the garment to get the threads to come loose.
- Pour warm water into a sink or basin and add a small amount of mild detergent.
- Put the piece of clothing in water and let it soak for at least 30 minutes.
- Then, rub the embroidery gently to loosen the threads, and give the whole thing a good wash.
Keep in mind that these methods might not get rid of all the embroidery on the garment and might also hurt the fabric in some way. If you want to make sure the shirt stays in good shape, it might be best to take it to a professional cleaner.
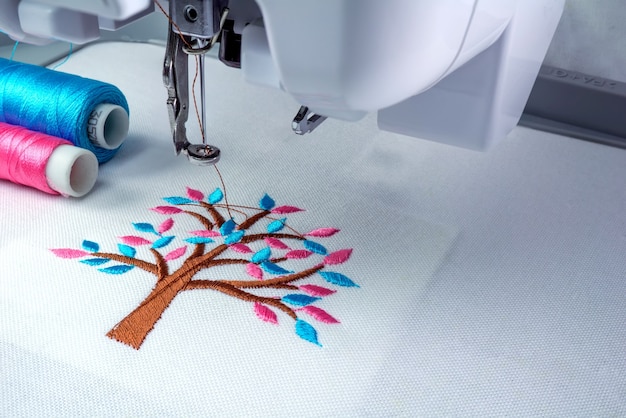
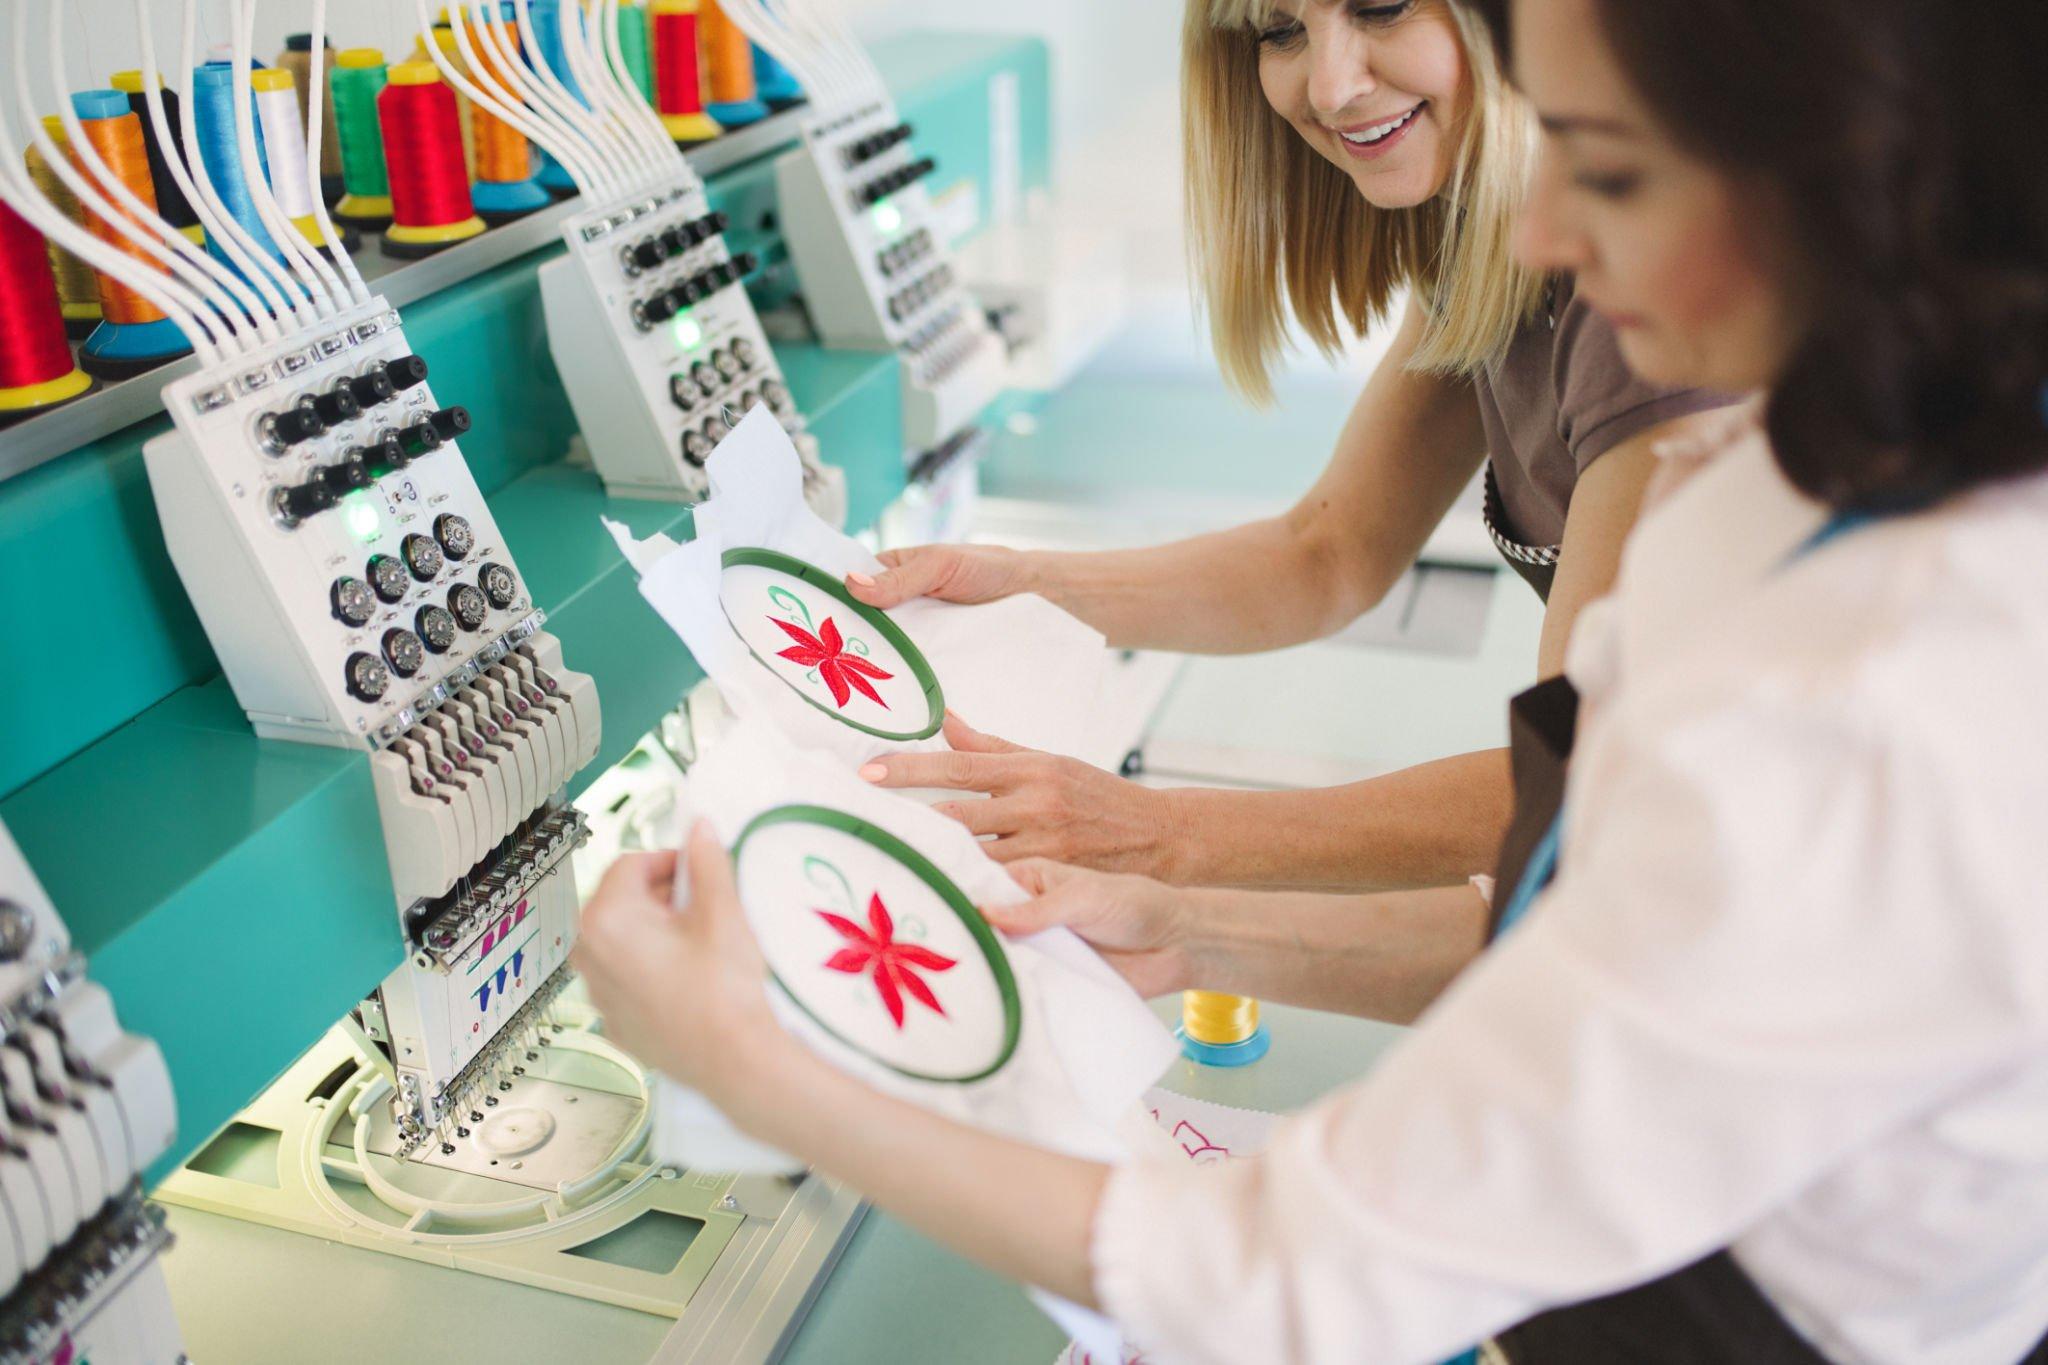
How To Embroider A Patch By Machine
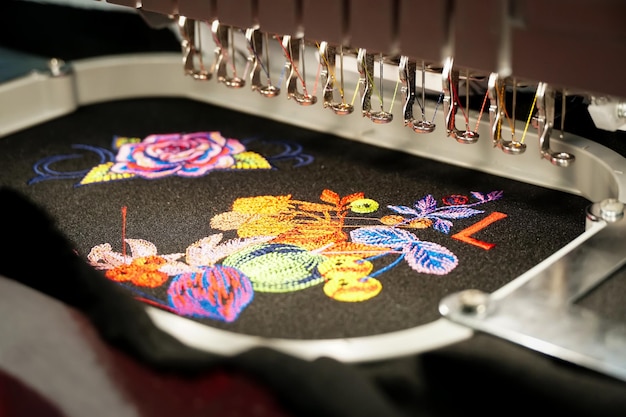 Embroidering patches on a machine is a quick and easy way to make a lot of patches that look like they were done by a professional. Here are some things you can do to machine-embroider a patch:
- You will need an embroidery machine, embroidery thread, an embroidery hoop, and a patch blank for the design to be stitched on.
- If you are using a design that has already been made, put the blank patch in the embroidery hoop and center the design on the blank patch. Use a computer-aided design (CAD) program to make a digital copy of your design if you are making it yourself.
- Follow the directions for your embroidery machine to load the design and get it ready to stitch.
- Put the patch blank in the embroidery hoop and secure it there according to your embroidery machine’s instructions.
- Follow the instructions for your embroidery machine to load the embroidery thread and thread the machine.
- Start the embroidery machine and let it do its magic!
- The machine will move the embroidery needle through the fabric to make the patch’s design.
When the embroidery is done, the machine will cut the threads on its own. You’re done when you take the patch out of the embroidery hoop. If you want to put the patch on a shirt, you can use an iron-on patch or use a needle and thread to sew it on by hand.
How To Create An Applique Patch With An Embroidery Machine
 Using an applique patch to cover a tear or as an identifying emblem on clothing is a clever solution for custom patch making.
- Select a letter from a favorite typeface
- Enlarge it on the computer
- Then print it off to use as an embellishment for your patch
- To use as a guide, snip it out using some paper scissors
Embroidery stitches are used to attach a piece of fabric to a base fabric to make an appliqué patch, which is a decorative piece.
You will need a base fabric an appliqué fabric (the fabric that will be cut into a shape and attached to the base fabric), an embroidery thread, an embroidery hoop, and an embroidery machine.
Here’s how to make a basic appliqué patch with an embroidery machine:
- Draw the shape you want on the appliqué fabric with a fabric pen or pencil, and then cut it out with a pair of scissors.
- Put the base fabric in the embroidery hoop and secure it according to your embroidery machine’s instructions.
- Put the appliqué fabric on top of the base fabric and arrange it however you want.
Follow your embroidery machine’s instructions to load the embroidery thread and get started. The device will move the embroidery needle through both the appliqué and base fabric, sewing the appliqué to the base fabric as it goes.
When the embroidery is done, the machine will cut the threads on its own. You’re done when you take the patch out of the embroidery hoop. If you are making patches for jackets, you can use an iron-on patch or a needle and thread to sew it on by hand.
How To Make Patches By Hand
 To make custom patch by hand is a fun and creative way to create your own embroidered patch to give your clothes or other fabric items a personal touch.
Here’s how to make a simple patch by hand:
- You’ll need a patch blank (the piece of fabric that will hold the design), embroidery thread, a needle, and scissors.
- Draw the design on the patch blank with a fabric pen or pencil. You could also print a design on transfer paper and then iron it onto the blank patch.
- Cut a piece of embroidery thread and put it through the needle’s eye. To keep the thread in place, tie a knot at the end.
- Start with a simple stitch, like a backstitch or split stitch, to outline the design. Then, use different stitches, like the satin stitch, chain stitch, or stem stitch, to fill in the design.
- When you’re done embroidering, tie off the threads on the back of the patch to keep them in place. Cut off any extra strings.
If you want to sew the patch onto a garment, use a needle and thread to sew it where you want it. If you are using an iron-on patch, put it on the garment and press it with an iron set to the right temperature for the patch material.
Conclusion
To design your own embroidered patch has been our mainstay for decades, and today, every designer in the world produces millions of these items annually. Making our own design embroidery patch gives us expertise in the field and the freedom to express our individuality via our work.


