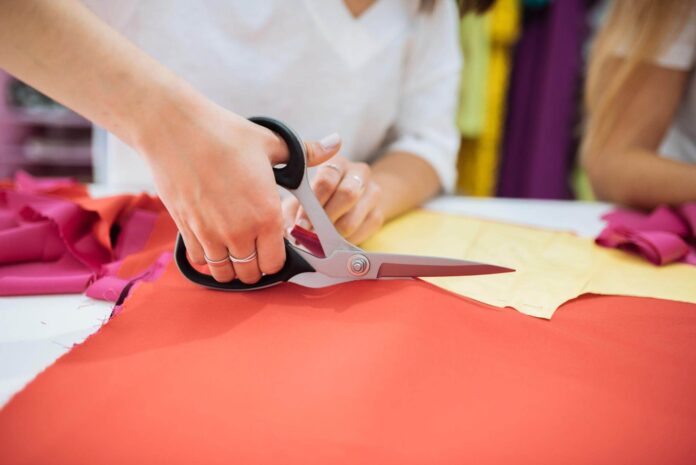
It takes skill the creation of garment patterns design. Each pattern’s intricate design and manufacturing process guarantee that clothing is produced precisely and with little room for error.
Your sketches will need to be converted into technical drawings before patterns can be made once you’ve designed your clothes. There are various resources and experts who can help folks who are unfamiliar with cloth designs.
What Is Pattern Making?


Creating patterns is an art form to manipulate and shape a flat piece of fabric to fit one or more human body contours. Making fashion patterns serves as a link between design and production. A pattern that translates the design into the shape of the garment’s components can turn a sketch into a finished item of clothing.
What Are Some Clothing Patterns?
What is a Basic pattern? The fundamental pattern serves as the cornerstone on which pattern-making, fit, and design are all built. The fundamental pattern serves as the foundation for creating flat patterns. It has a straightforward fashion design pattern that is just loose enough to allow for comfort and movement on the body.
Paisley
The Middle East is the region where this pattern first appeared. Matching paisley with solid colors is preferable because it’s a striking pattern. This pattern is made up of teardrop-shaped patterns that are frequently put together to form a flowery motif. These prints occasionally include particularly “loud” color combinations. There are various hues of the same color in toned-down variations. Choose this clothes pattern design carefully because it tends to draw a lot of attention to itself in either case.


Herringbone
This pattern fashion is so named because it is meant to resemble a herringbone fish’s skeleton. This complex design is best described as slanted lines that flow in opposite directions. Parallel lines surround them, creating a sequence of V-shaped formations. Wool is frequently woven with herringbone. It works well for a coat or jacket that is worn casually. Jeans and herringbone go well together. It somehow pulls off the image of being both tough and professional.
Pinstripes
In particular a men’s suit, this pattern is a mainstay of professional wear. The stripes are often white, but they can also be grey on occasion. The lines’ tendency to go up and down lengthens your figure and makes you appear taller. Pinstripes should be worn with caution, though, as they may attract attention to your belly excessively and make you appear larger than you are. (Chalk stripes are less defined, thicker, and spaced farther apart than typical pinstripes.)
Windowpane
Given that that is exactly how it appears, this pattern lives up to its name. Widely spaced checks can add sophistication to clothing. However, it is not advised to wear this pattern in fashion design to events with a strict dress code. This kind of dress shirt and suit is popular because windowpane checks complement the height and physique of the majority of men. Additionally, finding a matching tie is typically simple. Simply choose a hue that goes well with the “frames” of the “windows.”
Gingham
When people used the term “gingham” in the past, they typically indicated a certain fabric kind. Today, however, it typically refers to a pattern made up of uniformly sized, one-color squares on a white background, much like a checkerboard. This style of casual button-down shirt is prevalent.
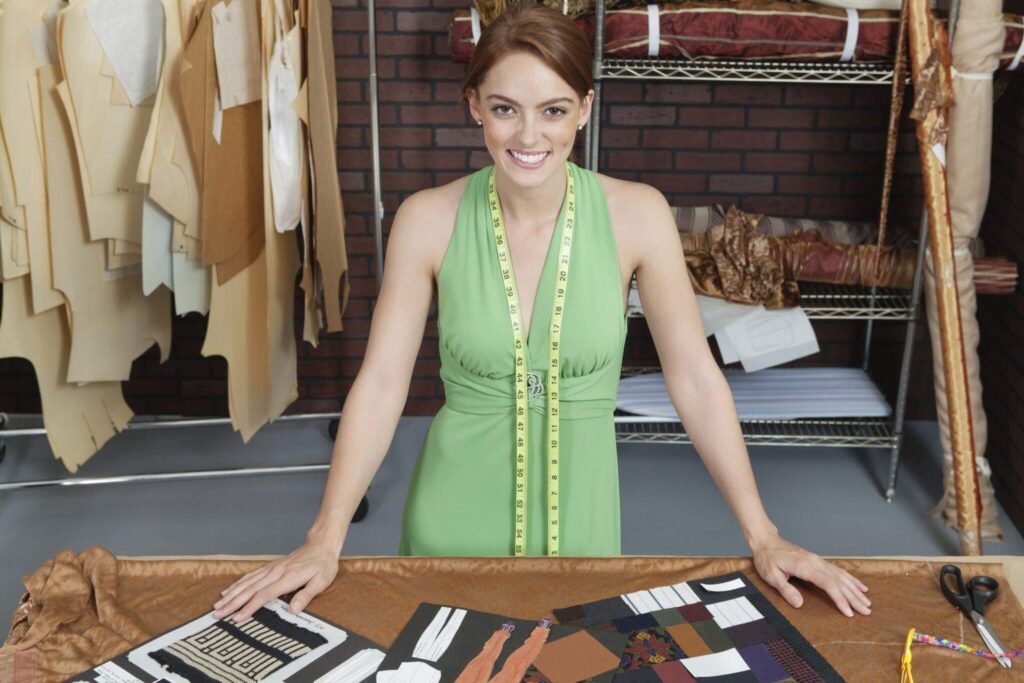

What are pattern design methods in clothing?
Flat pattern design
Using muslin cloth and a basic pattern, this technique creates a 3D object that is subsequently transferred to paper. Flat patterning enhances wearer comfort by highlighting the places for movement.
Because it is quick and precise, the flat patternmaking for fashion design approach is used in the ready-to-wear industry. The foundational pattern in womenswear is made up of five basic garment pattern elements:
- the front body
- the back body
- Neckline
- Sleeve
- tailored skirt
Darts are used to complete each of the aforementioned elements in the proper order. These fundamental guidelines can be altered to accommodate new trends as fashions change with each season.
Drafting
Initial designs are frequently created by drafting. These designs are created by factories utilizing presets for conventional dimensions, or they have been precisely measured using a fit model. This procedure is typically illustrated on paper and includes marks for an easy allowance to finish forming the garment.
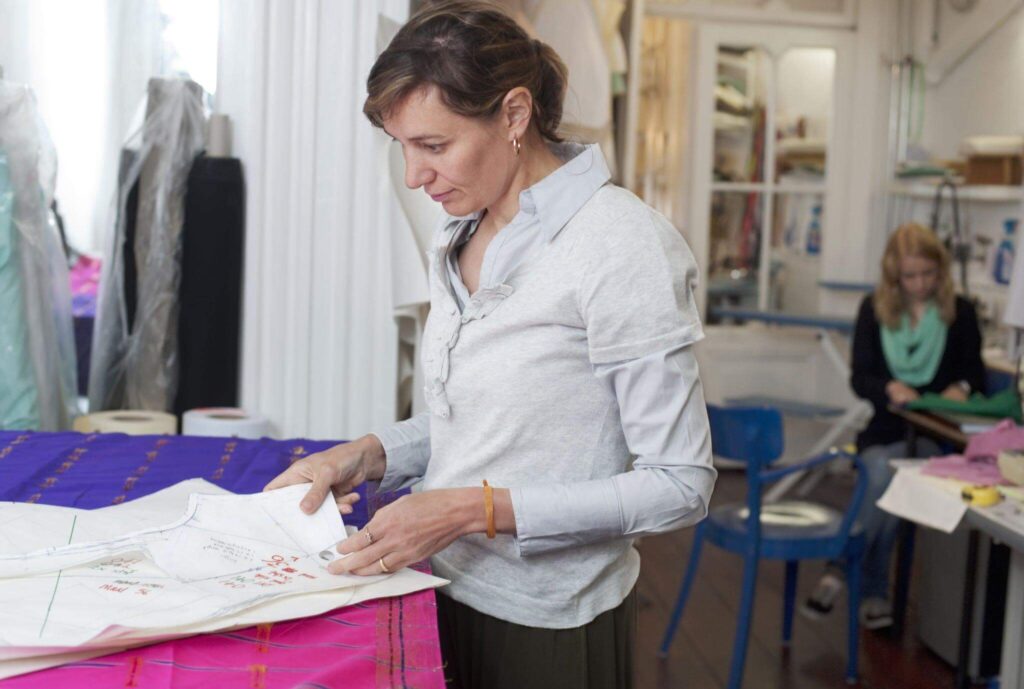

Draping
In this method of fashion pattern-making, the muslin is draped over a form (or mannequin) to produce a three-dimensional shape. The final pattern is created by transferring this cloth to paper once a designer has achieved the desired look. This approach might cost more than alternative approaches. However, before making the final judgments before finding a clothing manufacturer, it provides a pattern fashion design with a general idea of how a garment would look.
Grading
Grading is the procedure through which standard paper patterns are revised into various sizes while still maintaining the same pattern. Paper grading functions as the most effective way in client markets or emergencies when sizes must be immediately readjusted by decreasing or maximizing one drafted template. Papers with patterns are frequently assessed. To modify the original design’s measurements for other sizes, you can just as easily trace it on another sheet of pattern paper.
What Are The 5 Steps In Pattern Making?
Pattern-making is the process of incorporating a person’s figure into a design on a piece of fabric. Getting a tailored or ideal fit is the ultimate goal of pattern-making. When using pattern-making technology, the garment being designed is reduced to a two-dimensional representation. Pattern-making fashion is the cornerstone of the complete garment because it directs where the fabric should be cut to fit the customer’s physique.
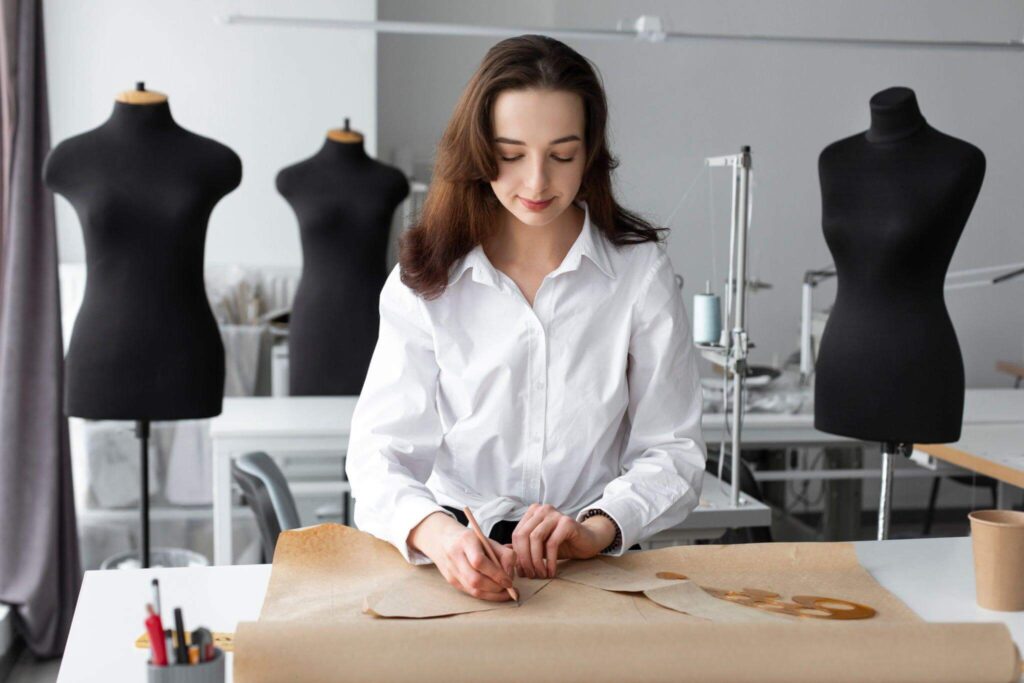

Tool
There are a few special tools that you will find in any pattern maker’s toolbox. But over time, many tools have been added by clothes pattern makers to the drafting process:
- Pencils and Erasers: The first two materials you’ll need for drafting a pattern are a pencil and some erasers. When drawing for the first time, you could find yourself turning to your initial designs. Due to this, even seasoned pattern creators refrain from using pens or markers.
- Patterning Paper: Compared to regular drawing paper, patterning paper is graded paper. To expose length, inches, or sizes, the paper is graded or marked. The designers benefit from time savings.
- Flexible Rulers: Because they may be twisted into numerous forms or angles to measure features, flexible rulers exhibit greater adaptability than straight rulers. Around 65 inches or more is the perfect length for a flexible ruler.
- A stiff, curved ruler called a “hip and arm styling curve” is used to measure and trace curves and angles after a pattern has been sketched out with straight lines for better definition.
These two straight, clear, and gridded rulers are useful when measuring the length, width, or height of your creations. Usually, two of these are needed, with the shorter one measuring between 6 and 8 inches and the longer one measuring between 13 and 15 inches. While a bigger scale is useful dimensions, a shorter scale is excellent for precise measurements.
Accuracy in Body Measurements
Either patterns are made in normal sizes or to special specifications. For the best fit, garment pattern makers or designers need accurate measurements. The following body measurements must be taken when creating flat patterns: height, bust, waist, arm, rise, and in-seam.
Integrating Designs and Styles
The original pattern draught is made by the customer’s body measurements or fashion preferences. Including a variety of styles in your design will set it apart from other, more generic creations and turn it into an emergency instance, flared sleeves and other styles like these are added by the fashion designer patterns on top of the initial sketch. However, the garment’s fit and how attractive it is should be taken into account.
Analysis of Your Design
Grading is the procedure through which standard paper patterns are revised into various sizes while still maintaining the same pattern. Paper grading functions as the most effective way in client markets or emergencies when sizes must be immediately readjusted by decreasing or maximizing one drafted template. Papers with patterns for clothes-making are frequently assessed. To modify the original design’s measurements for other sizes, you can just as easily trace it on another sheet of pattern paper.
Drapes
After the design is drawn out on paper, it should be converted from a two-dimensional image to a three-dimensional one so that any last-minute adjustments can be made and to have an idea of how it will appear on a body as opposed to a flat surface. This is the circumstance in which draping is relevant.
Following the creation of the pattern, it should be printed out on cloth and sewn on with the aid of needles. Draping uses cut-out cloth based on a drafted design to mirror the style patterns of the consumer.
How Do You Make Your Clothing Patterns?
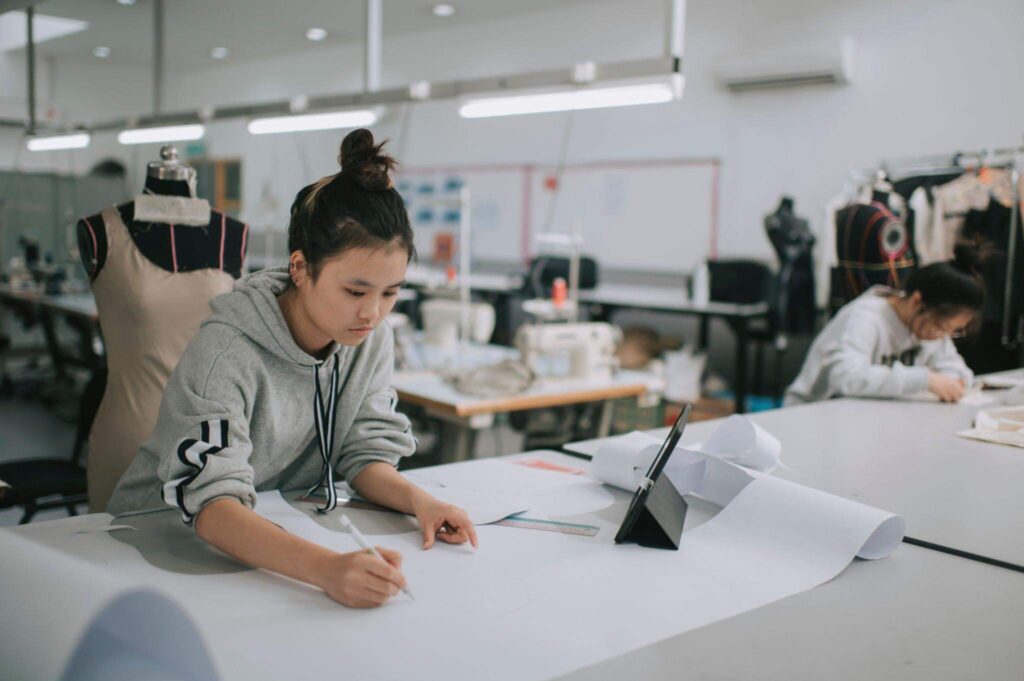

For clothing pattern designs you can start by locating a fitting, appealing outfit, and then trace the various parts to make a design. To ensure a precise fit when they are put together, the various portions should be trued up.
Pattern Drafting
Creating basic patterns, or blueprints, of necessary pattern blocks is called pattern drafting. It involves taking garment measurements of various body parts. Frequently, a pattern set is used to describe this:
- Shirt front
- Shirt back
- Sleeve
- Front Skirt
- Back Skirt
- Pants: Front and Back
The seven fundamental patterns listed above are required to make all the many styles of clothing, such as Tops, Jackets, Shirts, and Coats
Pattern Drafting Tools
You’ll require a fundamental set of pattern-creating tools as you learn to draught patterns. This list will be helpful, but the absolute bare minimum is:
- a robust pencil
- a ruler or pattern master, and a set square
- Measurement tape
- graph paper (more thorough than regular paper)
When creating your own sewing patterns, there are essential steps available to you:
Take Measurements
If you’re planning to make something by sewing, you must take precise dimensions. You must take the following measurements wrote measuring tape to make precise patterns that fit you well:
- Female garment bust: The tape should be wrapped around your bust’s largest area.
- Measure around the area closest to your natural waist that is the thinnest.
- Dresses for height: Have someone measure you from the top of your head to the bottom of your feet while you are standing straight up against a wall.
- Men’s shirts: Place the tape around the neck where the shirt’s collar will be placed.
- Hips: Apply the tape on the area of your hips that is the widest.
- Back length and width: Take a measurement across the widest section of your back to determine the width and from the neck to the waist to determine the length.
- Men’s or women’s apparel chest measurements should be taken across the widest section of the chest above the breast.
- Measure the length of the sleeve by holding the tape down the arm again from the shoulder.
- Measure the distance between the neck and the outer edge of the shoulder.
- Measure the distance between the thickest part of your upper arm and the armpit.
Create A Rough Sketch Of The Outfit You Wish To Make
Determine whether you’re making a top, skirt, or pants and whether sleeves are necessary. Next, sketch a rough outline of the garment’s design. By figuring out how to make patterns for clothes and partition the garment into sections, you may figure out how many separate pattern pieces you’ll need to create.
Plot The Length Of Your Pattern On A Sheet Of Paper That Has Been Laid Flat
Make sure one side of a large sheet of pattern or brown postal paper is precisely straight before placing it on a flat work area. Then, measure down from that point for however long you want the garment to be, starting 2 inches (5.1 cm) starting at the paper’s top.
Mark The Shoulder, Bust, Waist, And Hip Lines With Horizontal Lines
At the top of the line, you just drew for the center front, position a straight ruler so that it forms a 90-degree angle. The top horizontal line is how to draw patterns on clothes and will serve as your shoulder line. The ruler should then be lowered to produce the diagonal bust line. Lower the ruler one more time to produce the horizontal waistline. The hip line will be where your shirt ends.
The Chest, Waist, And Hip Dimensions Should Be Connected By A Line
Make a dot on the bust line that is 1/4 as long as your measurement after looking at your dimensions. Do the same for the hips and waist. Then, using a pencil and curved ruler, draw a line connecting the points on the breast or chest line, the waistline, and the hip line.
Draw The Shoulder And Neckline
Using a curved ruler, mark your neckline from the top of the shoulder to the front of the center line. With the understanding that the rear neckline is typically higher than the front neckline, you can make the neckline as low or high as you desire. Then, leave room for the armhole and create a curved line above the bust line from the shoulder down.
Around The Curved Edges Of The Piece, Add A Seam Allowance
Draw a line parallel to your pattern’s outline using a ruler or seam allowance ruler. Add a 12-inch (1.3 cm) buffer.
For Sleeves On A Dress Or A Shirt, Make A Sleeve Pattern
Determine the type of sleeves you want for the garment using the sleeve length and upper arm breadth measurements that you took. Make a pattern for making clothes sleeves on the fold.
Cut Out The Pattern Pieces And Name Them
You should transfer your traced pattern to a new piece of pattern paper. After pinning the papers together, cut through both layers of paper at the seam allowance. The back pattern piece will be made from the bottom layer. To allow you to customize the front and back pieces, take care not to cut the curved neckline.
FAQs
How Do Pattern Makers In The Fashion Industry Work?
Draping and flat patterns are the two most popular ways to create patterns. To complete the task, somewhat different tools are needed for each technique. Draping is the process of manually adjusting the cloth on a dress form to get the desired look.
Do Designers Of Clothing Create Their Own Patterns?
The work of producing the master patterns and sewing the prototypes is performed in-house by many design firms and most definitely larger corporations.
Final Words
With the usage of computers, creating patterns has become a simple task in modern times. To fulfill the needs of the producers, a variety of software is now offered on the market. They have reduced the cost and time involved in the pattern-making process.
Regardless of the level of technology employed, manual pattern-making design is the precursor to pattern-making software because, without it, no one could create a design that would fit into a specific size without any modification.

